LoRaWAN and Node-RED Tutorial and Deployment Tips (Part IV)
LoRaWAN and Node-RED Tutorial and Deployment Tips (Part IV)
- Last Updated: December 2, 2024
Yitaek Hwang
- Last Updated: December 2, 2024

This series is intended for developers and hackers looking to test out a LoRaWAN network using MultiTech’s Conduit and mDot RF modules. The Things Network has an extensive forum and support for public gateways and nodes in Europe, but little documentation exists for those wanting to test a private network in the US.
This is the fourth post in a four part guide which covers:
- Using the mDot, xbee shield, and Arduino
Using the mDot, xbee shield, and Arduino
Part IV of the MultiTech series will focus on using a xbee shield and Arduino to build a custom node. This is a cheaper and hackier alternative to buying the developer board. For more polished versions, please check out Part III of the guide.
Hardware
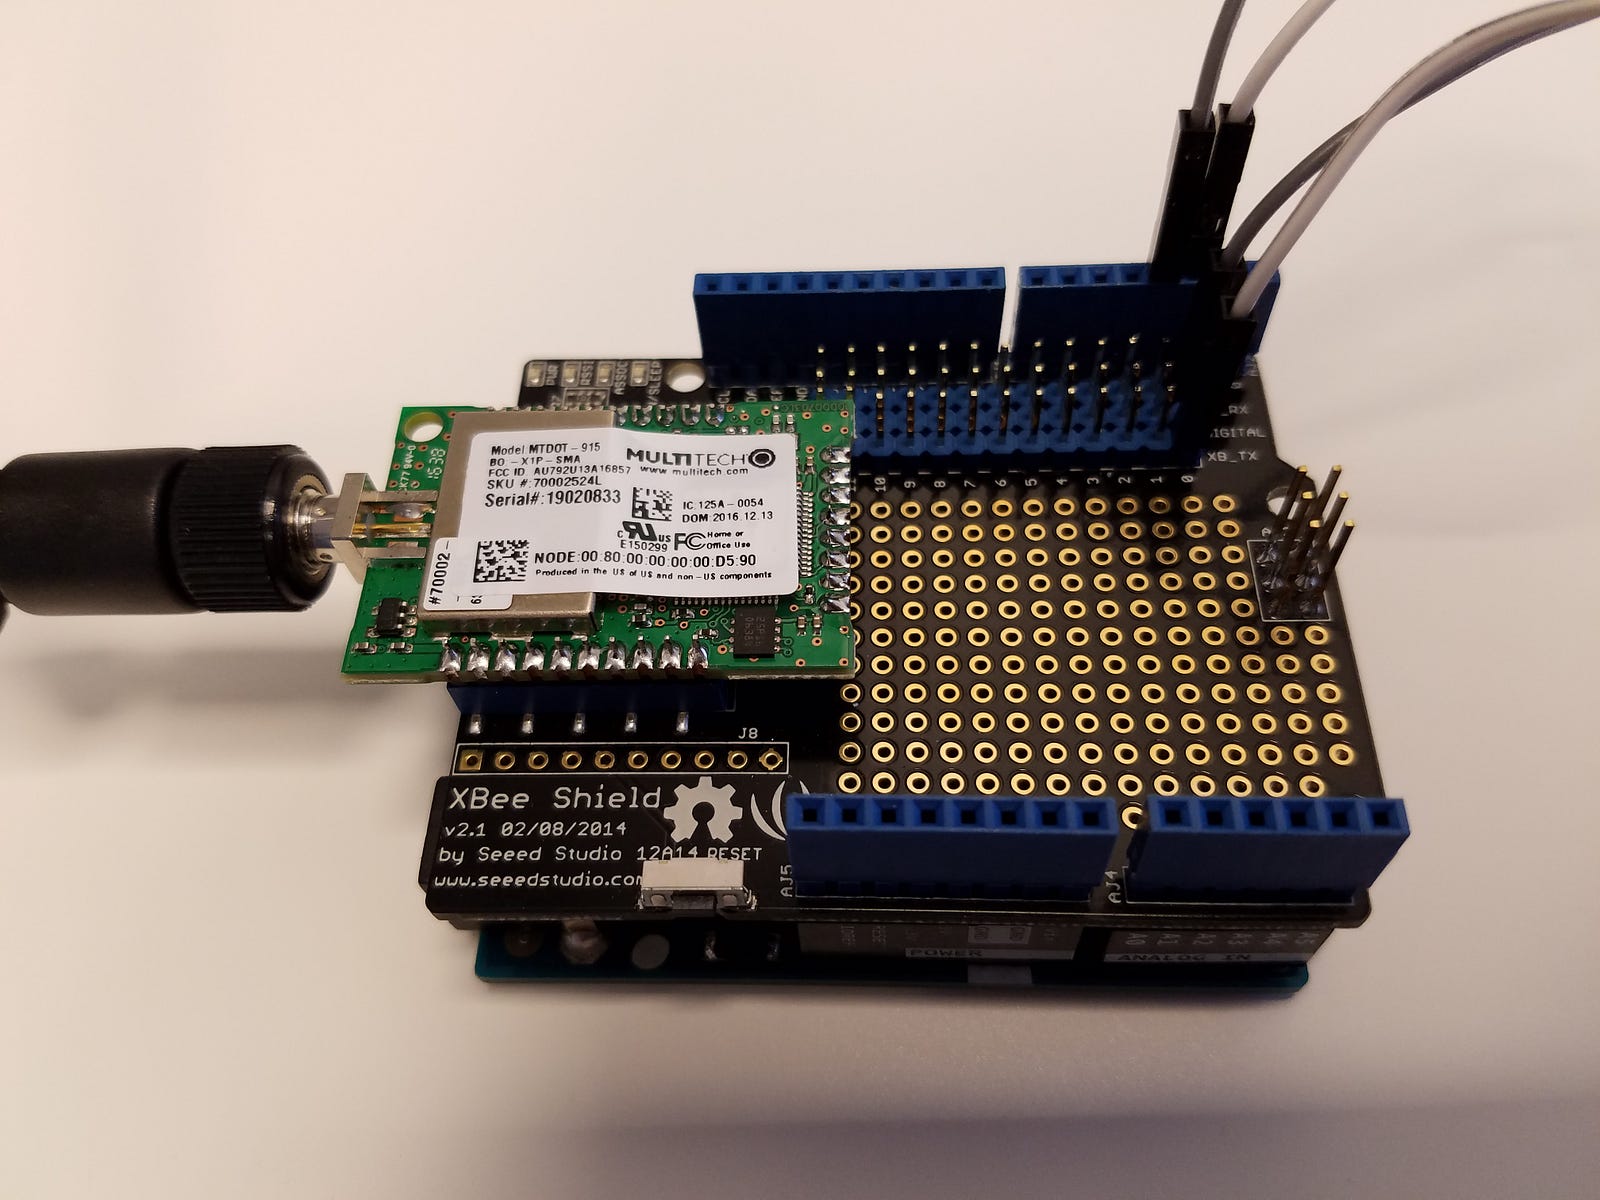
To get started with the project, I followed the instructions laid out by Mike Vladimer and Anna Aflalo of Orange IoT Studio. Instead of the Arduino Mega, I used my Arduino Uno and bought the XBee shield v2.0 from Seeed Studio. But I do also know that the SparkFun XBee Shield works just fine with the mDot.
To set the mDot onto the XBee shield, bend the two pins in the XB_TX row next to pins 11 and 12 to make room. Now push in the mDot with the antenna facing outward from the board. Finally, connect one wire from XB_TX row to pin 2 of the shield, and connect another wire from pin 3 to XB_RX row.
Hello World!
To send “Hello World” to the gateway, all you need is to be comfortable with AT commands supported by MultiTech. Here’s a simple starter code to join the network and send “Hello World” once.
#include <SoftwareSerial.h>
SoftwareSerial mySerial(2, 3); // RX, TX
void setup() {
  // AT Commands for MultiTech
Serial.println("Joining Lora Network");
  mySerial.begin(115200);
  mySerial.println("AT");
  mySerial.println("AT+NI=1,levdev01"); // Match your network name
  mySerial.println("AT+NK=1,levdev01"); // Match your password
  mySerial.println("AT+FSB=1");
  mySerial.println("AT+JOIN");
  mySerial.println("AT+SEND=Hello World");
}
void loop() {
  // Reading the output in terminal
  if (mySerial.available()) {
      Serial.write(mySerial.read());
  }
}
You just need to change the network name and password from levdev01 to what you had set your LoRa settings to be. If you run into trouble, make sure the correct board is selected in the Arduino IDE and run the Serial Monitor with baud rate of 115200.
Adding Sensors
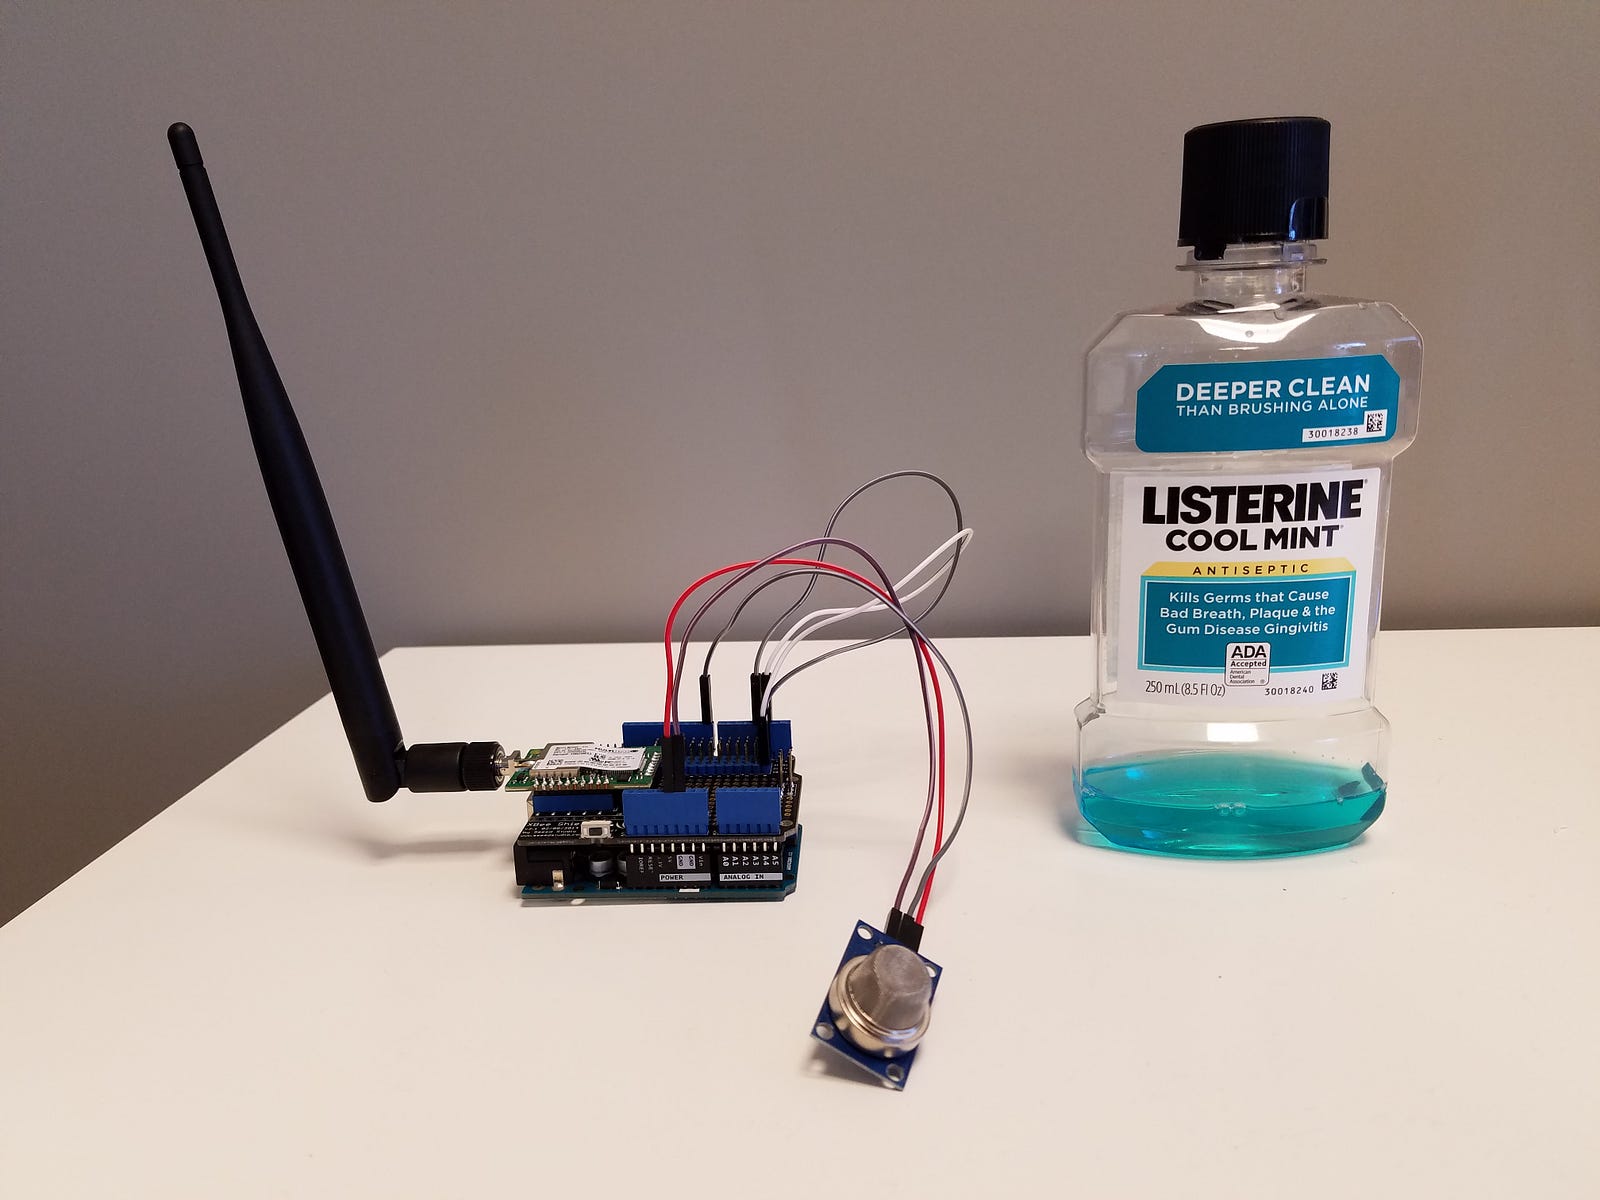
This process is trivial once you are able to join the gateway. You can use any Arduino-compatible sensor, get the code to read in the data, and just send the value to using the AT+SEND command. For example, I used a MQ2 sensor to build a simple gas leak detector. To test the sensor, you can use Listerine to activate the gas sensor.
#include <SoftwareSerial.h>
SoftwareSerial mySerial(2, 3); // RX, TX
const int gasPin = 8;
void setup() {
  // Setting up Serial Monitor
  Serial.begin(115200);
  mySerial.begin(115200);
// Join the Lora Network
  mySerial.println("AT");
  mySerial.println("AT+NI=1,levdev01");
  mySerial.println("AT+NK=1,levdev01");
  mySerial.println("AT+FSB=1");
  mySerial.println("AT+JOIN");
}
void loop() {
  // Send string "gas" if MQ2 sensor detects gas
  if(digitalRead(gasPin) == LOW){
    mySerial.println("AT+SEND=Gas");
    delay(1000);
  }
// This is for debugging
  if (mySerial.available()) {
      Serial.write(mySerial.read());
  }
}
I used the digital output of the gas sensor to just simply tell me when it detects gas and send the value to the gateway. If you would like the actual analog readings, MQ2 sensor also has analog ports as well.
You can refer to the pictures below for the simple setup and the NodeRED flow to verify it working!

I hope this series was helpful for those looking to test out a LoRaWAN network. Personally, I was surprised by the range of these modules. We were getting good reception several km away from our office even when the gateway was sitting on a desk. In my next post, I will continue to work with alternative solutions using Raspberry Pi and Dragino Shield!
The Most Comprehensive IoT Newsletter for Enterprises
Showcasing the highest-quality content, resources, news, and insights from the world of the Internet of Things. Subscribe to remain informed and up-to-date.
New Podcast Episode

Can AI Design IoT Hardware?
Related Articles