Build Your Own Charging Point for an Electric Car
Build Your Own Charging Point for an Electric Car
- Last Updated: December 2, 2024
ELIFTECH
- Last Updated: December 2, 2024

It’s no secret that the Earth is running out of fossil fuels, so increasingly more people are hurrying to find alternative sources of energy and ways to produce them. Driving electric vehicles could be one of the solutions to reduce the use of fossil fuels and also mitigate a separate issue - the amount of CO2 emissions.
If electric cars are so useful, why isn’t everyone driving them yet? Two words: price and charging. Electric vehicles (EV) are currently too expensive for the mass market, and finding a decent charging station is no piece of cake. And while we cannot do anything about the first problem, we can help you build an EV charging point at home while smart cities play catch up.
The Electric Car Perspective
Yes, the price is one of the major factors preventing electric car use from being widespread. A regular EV like a Nissan Leaf can cost as much as a top trim family sedan or an SUV. The price on an electric car largely depends on the battery. Big “fuel tanks” cost a lot, but then again, the bigger the battery, the longer your EV can go on a single charge. So, do battery-powered vehicles have a bright future if not everyone can afford them?Take a look at these statistics.
[caption id="attachment_13733" align="alignnone" width="750"]

As you can see, the price of batteries (per kilowatt) has dropped more than 50%, and their capacity has more than tripled in the last five years. It seems that this trend will continue, especially when you look at countries like the Netherlands that have promised to give up petrol engines completely by 2025-35.
Open Charge Point Protocol
With the rapid development of electric vehicles, charging stations have evolved as well. You can find at least a couple public EV charging stations in big cities. They typically require no maintenance staff or cashiers, and they take up little space.[caption id="attachment_13734" align="alignnone" width="750"]

In most cases, you can buy electricity for your vehicle using a specific mobile application. It will activate the power outlet that’s going to charge your electric car. But how does the power outlet know when and which electric vehicle to charge?
[caption id="attachment_13735" align="alignnone" width="750"]

Because the number of charging station constructors and supervision system suppliers has grown, there is a critical need for a standard communication protocol. The Open Charge Alliance (OCA) has decided to develop a standard communication protocol titled Open Charge Point Protocol (OCPP). It will allow different users to have a standard communication protocol and interconnect their systems.
How Does OCPP Work?
Before we find out how OCPP works, let’s take a look at the key components.- Central system — a charge point management system that manages charging stations and authorizes users.
- Charge point — a physical charging station with one or more connectors.
- Connector — an independently operated and managed electrical outlet on a charge point. Usually, this is a single physical connector, but sometimes a single outlet may have various physical socket types and tethered cable/connector arrangements.
Currently, protocol versions 1.0, 1.5 and 1.6 are available, while 2.0 is still in the draft stage. Versions 1.x support two data formats: SOAP and JSON. Depending on the format, you can find either OCPP-1.x-S or OCPP-1.x-J respectively. The Version 1.6 of the OCPP protocol consists of 28 operations, 10 of which are initiated by the charging station and 18 by the central system. You can find all these commands in the documentation.
The OCPP Version 2.0 will only support the JSON format. SOAP uses XML for data transmission and is too redundant. This is critical since filling stations connect to the Internet via mobile providers.
DIY EV Charging Point
Being both engineers and researchers, we wanted to try and create a DIY charging point for an electric car.Writing a Test Protocol
First, we needed to write a test protocol before the testing phase. We need to do this to define which actions to test and which OCPP messages to expect after each of these actions occurred. This would allow us to see how a full-scale charging station can interact with the end user.Actions
- Start a charging session. Start a charging session from the web-based user interface (UI). Expected OCPP messages:
- RemoteStartTransaction
- StatusNotification —> Occupied
- StartTransaction
- MeterValues
- Stop a charging session. Stop a charging session from the web UI.Expected OCPP messages:
- RemoteStopTransaction
- StopTransaction
- StatusNotification —> Available
 // https://github.com/elifTech/cpd-ocpp/blob/pi/examples/centralSystem.js
cSystem.onRequest = async function (client, command) {
const connection = client.connection;
console.info(New command from ${connection.url});
switch (true) {
case command instanceof OCPPCommands.BootNotification:
client.info = {
connectors: [],
...command
};
return {
status: BootNotificationConst.STATUS_ACCEPTED,
currentTime: new Date().toISOString(),
interval: 60
};
case command instanceof OCPPCommands.Authorize:
return {
idTagInfo: {
status: AuthorizeConst.STATUS_ACCEPTED
}
};
case command instanceof OCPPCommands.StartTransaction:
return {
transactionId: 1,
idTagInfo: {
status: StartTransactionConst.STATUS_ACCEPTED
}
};
case command instanceof OCPPCommands.StopTransaction:
return {
transactionId: 1,
idTagInfo: {
status: StartTransactionConst.STATUS_ACCEPTED
}
};
case command instanceof OCPPCommands.Heartbeat:
return {
currentTime: new Date().toISOString()
};
case command instanceof OCPPCommands.StatusNotification:
const connectorIndex = client.info.connectors.findIndex(item => command.connectorId === item.connectorId);
if (connectorIndex === -1) {
client.info.connectors.push({
...command
});
} else {
client.info.connectors[connectorIndex] = {
...command
};
}
await cSystem.onStatusUpdate();
return {};
default:
throw new OCPPError(ERROR_NOTIMPLEMENTED, 'Unknown command');
}
};
cSystem.toggleChargePoint = async (client, connectorId) => {
const connector = client.info.connectors.find(item => connectorId.toString() === item.connectorId.toString());
if (!connector) {
return null;
}
if (connector.status !== StatusNotificationConst.STATUS_AVAILABLE) {
let command = new OCPPCommands.RemoteStopTransaction({
transactionId: connectorId
});
await client.connection.send(command);
return;
}
let command = new OCPPCommands.RemoteStartTransaction({
connectorId: connectorId,
idTag: '' + connectorId
});
await client.connection.send(command);
};
// https://github.com/elifTech/cpd-ocpp/blob/pi/examples/chargingPoint.js

 const client = new ChargePoint({
 centralSystemUrl: `https://ocpp-example.herokuapp.com/webServices/ocpp/CP${Math.floor(Math.random() * 9999)}`,
 connectors: [
 connector1,
 connector2
 ]
 });

 try {
 await client.connect();

 client.onRequest = async (command) => {
 switch (true) {
 case command instanceof OCPPCommands.RemoteStartTransaction:
 setTimeout(() => startTransaction(command), 1);
 return {
 status: RemoteStartTransactionConst.STATUS_ACCEPTED
 };
 case command instanceof OCPPCommands.RemoteStopTransaction:
 setTimeout(() => stopTransaction(command), 1);
 return {
 status: RemoteStartTransactionConst.STATUS_ACCEPTED
 };
 }
 };

 const boot = new OCPPCommands.BootNotification({
 chargePointVendor: 'BrandX',
 chargeBoxSerialNumber: 'SR' + Math.round(Math.random() * 100000),
 chargePointSerialNumber: '123',
 chargePointModel: '12'
 });

 let answer = await client.send(boot);

 await client.sendCurrentStatus();
 } catch (err) {
 console.error('--- Err', err);
 }

 async function startTransaction({ connectorId }) {
 const idTag = 'test';
 const authCommand = new OCPPCommands.Authorize({
 idTag
 });

 await client.send(authCommand);

 const statusCommand = new OCPPCommands.StatusNotification({
 connectorId,
 errorCode: StatusNotificationConst.ERRORCODE_NOERROR,
 status: StatusNotificationConst.STATUS_CHARGING
 });

 await client.send(statusCommand);

 const startCommand = new OCPPCommands.StartTransaction({
 connectorId,
 idTag,
 meterStart: 0,
 timestamp: new Date().toISOString(),
 });

 await client.send(startCommand);

 connectorId === 1 ? pin17.reset() : pin27.reset();
 }

 async function stopTransaction({ transactionId }) {
 const statusCommand = new OCPPCommands.StatusNotification({
 connectorId: transactionId,
 errorCode: StatusNotificationConst.ERRORCODE_NOERROR,
 status: StatusNotificationConst.STATUS_AVAILABLE
 });

 await client.send(statusCommand);

 const startCommand = new OCPPCommands.StopTransaction({
 transactionId,
 meterStop: 1,
 timestamp: new Date().toISOString(),
 });

 await client.send(startCommand);

 transactionId === 1 ? pin17.set() : pin27.set();
 }
[caption id="attachment_13736" align="aligncenter" width="336"]

[caption id="attachment_13737" align="aligncenter" width="750"]

Designing Proper Hardware
After implementing these commands and creating the web UI, we can start building the hardware for our DIY charging point. We’ve built this prototype from simple components, so you can easily build it yourself.[caption id="attachment_13738" align="alignnone" width="750"]

To build a charging point prototype, you’ll need the following components:
- A nice industrial-looking box of your taste
- A couple of sockets (we use the common EU type)
- Relay module (we use two channels; the extra channels will be handy for future enhancements)
- Power supply (a generic one with a 5V 2A output will be just fine)
- Wires and connectors (like WAGO 222 and 19 AWG wire)
No soldering required!
Now, let’s combine all the components into the right model. First things first — draw a simplified scheme of your product:
[caption id="attachment_13739" align="alignnone" width="750"]

Next, attach the relay module to Raspberry PI 3 using a built-in GPIO port. We will connect Raspberry 3.3V, GPIO 17 and GPIO 27 and ground them according to the diagram. Keep in mind that your relay module should support 3.3V level triggering (the Raspberry port will not trigger 12V actuated models).
Check the Raspberry PI GPIO layout below to locate the GPIO17 and GPIO27 pins.
[caption id="attachment_13740" align="alignnone" width="750"]

Power up your Raspberry PI and verify the relay module:
- Login to Raspberry using the SSH command: ssh [email protected]
- Use the built-in gpio command line app to enable the pin:gpio -g mode 17 outgpio -g mode 27 out
- Use the gpio command line app to turn on/off the relay channels:gpio -g write 17 0gpio -g write 17 1
[caption id="attachment_13741" align="alignnone" width="750"]

Now, let’s make some power wire connections. The most convenient way to do this is using the WAGO conductors. We also recommend crimping the wire with proper connectors. The wiring should look like this:
[caption id="attachment_13742" align="alignnone" width="740"]

Make sure to test the wiring before powering the high voltage part. We recommend that you do it with a multimeter and by replacing the 220V with a low voltage supply (like a 1.5V or a 12V DC battery).
[caption id="attachment_13745" align="alignnone" width="550"]

Now, you are ready to install the software and set up your personal EV car charging station!
Conclusion
People all over the world are taking baby steps to popularise electric vehicles. Bloomberg New Energy Finance estimates that, by 2040, electric cars will make up as much as 35% of global new car sales. Yes, EVs are expensive, but having a battery-powered car is not as troublesome as you might think. You can see for yourself that it’s absolutely possible to build an electric car charging station at home. Go ahead and try it![caption id="attachment_13746" align="alignnone" width="750"]

Written by Vitalii Savchuk, Head of Development Center, and Andrii Oleksiyuk, Software Architect at ElifTech.
The Most Comprehensive IoT Newsletter for Enterprises
Showcasing the highest-quality content, resources, news, and insights from the world of the Internet of Things. Subscribe to remain informed and up-to-date.
New Podcast Episode

IoT Is Finally Delivering
Related Articles


Related Solutions
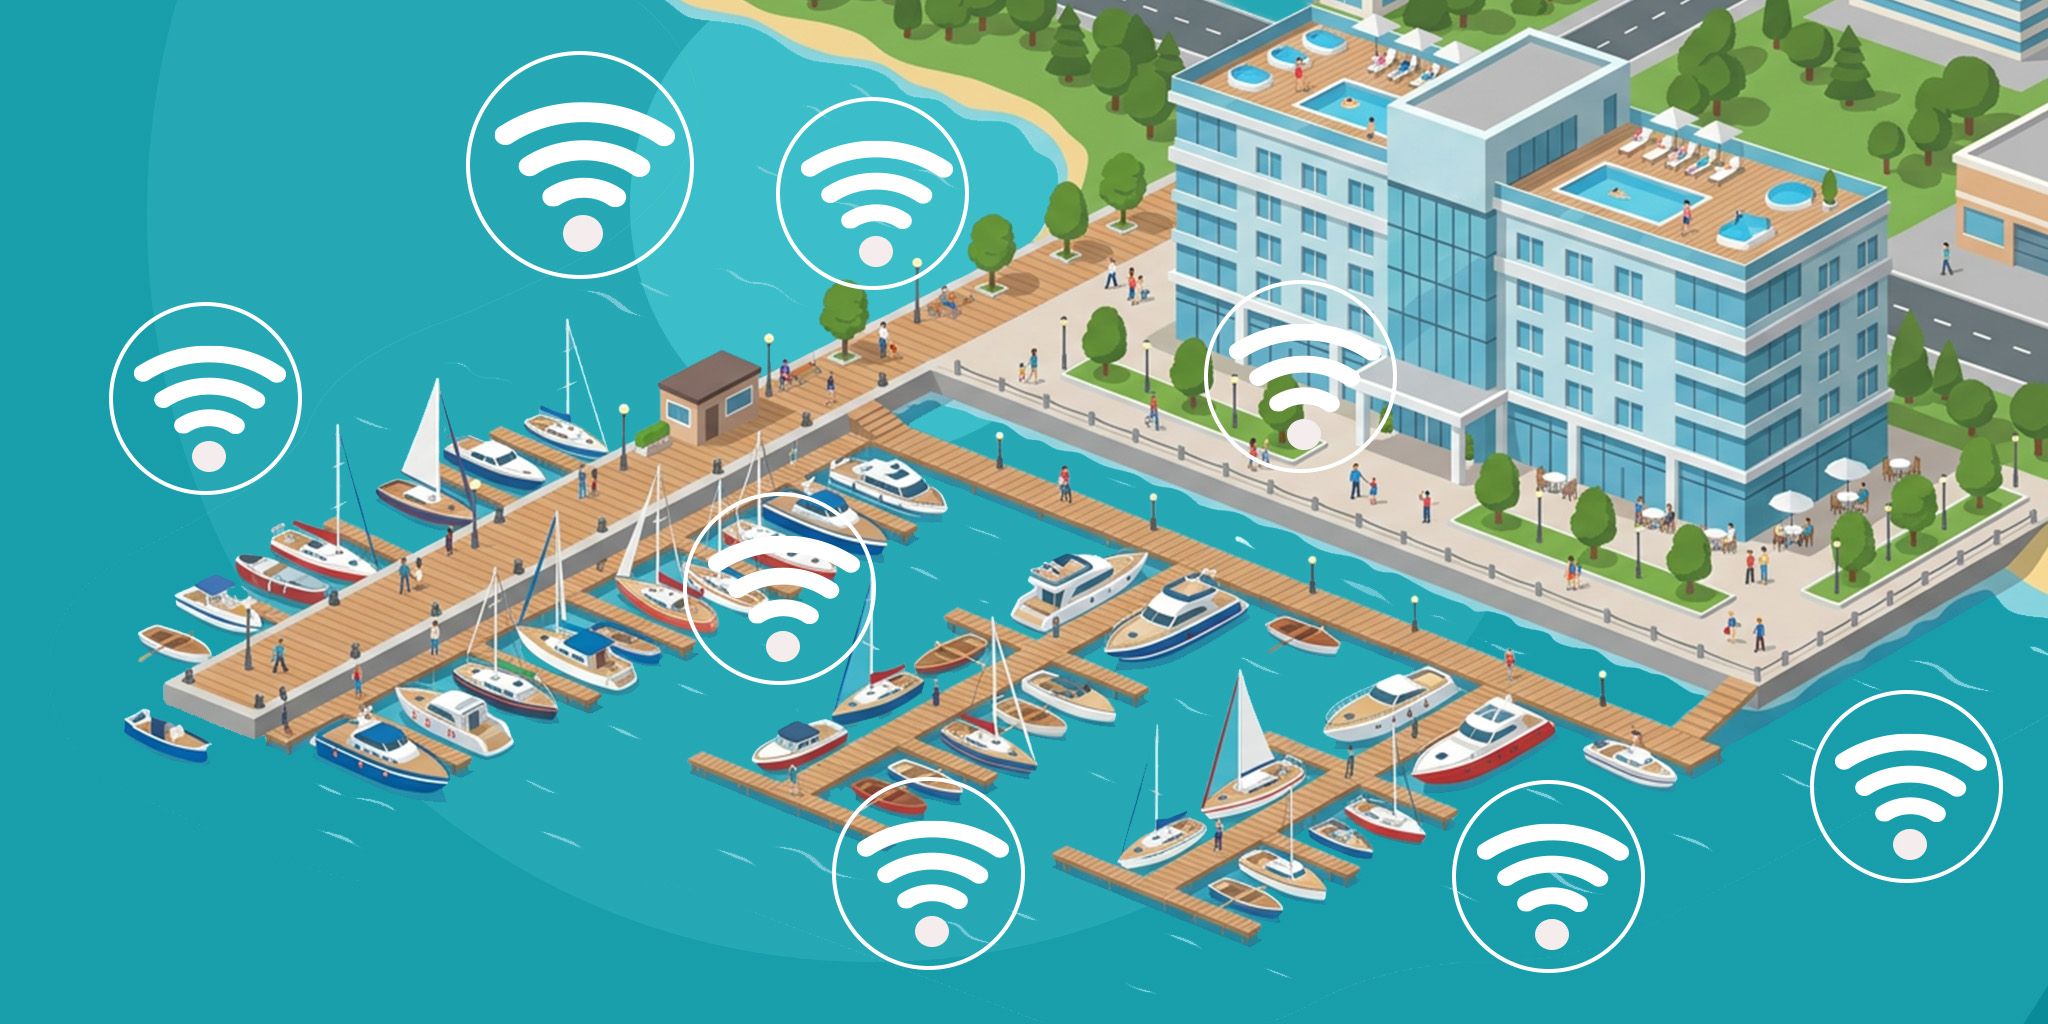
Smart Marina Management
Real-time visibility into marina assets, utilities, and security. Monitor, manage, and monetize marina resources more efficiently.
Real-time visibility into marina assets, utilities, and security. Monitor, manage, and monetize marina resources more efficiently.
Smarter Technologies
Smarter Technologies
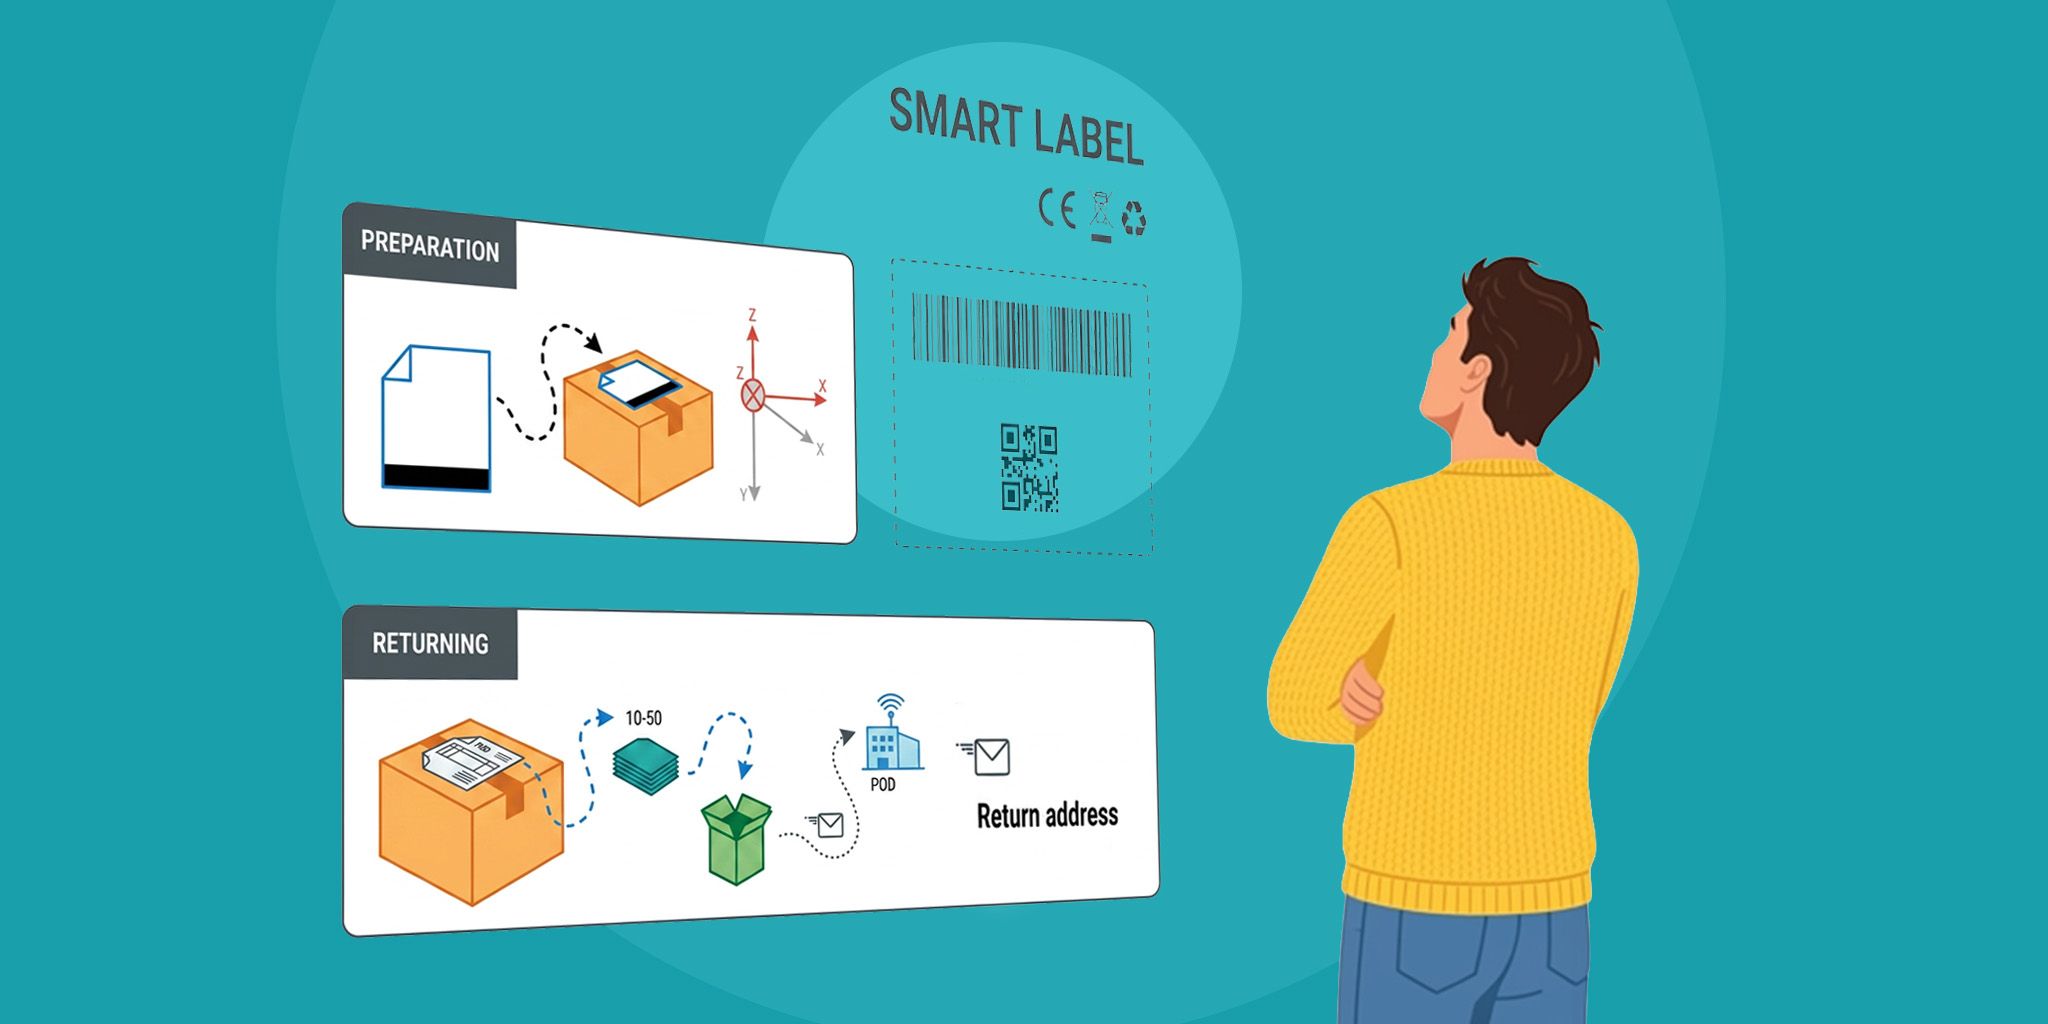
Smart Shipping Label for Supply Chain
Easy-to-deploy shipping label that provides real-time visibility into location, condition, and handling to reduce damage and optimize logistics.
Easy-to-deploy shipping label that provides real-time visibility into location, condition, and handling to reduce damage and optimize logistics.
SODAQ
SODAQ

Mobile Networking for Public Safety
Enable data sharing, enhanced situational awareness, and secure communication across vehicles, devices, and command centers.
Enable data sharing, enhanced situational awareness, and secure communication across vehicles, devices, and command centers.
Digi
Digi
Related Solutions
Maritime & Boating
Smart Marina Management
Real-time visibility into marina assets, utilities, and security. Monitor, manage, and monetize marina resources more efficiently.
Smarter Technologies
Supply Chain & Logistics
Smart Shipping Label for Supply Chain
Easy-to-deploy shipping label that provides real-time visibility into location, condition, and handling to reduce damage and optimize logistics.
SODAQ
Smart Cities
Mobile Networking for Public Safety
Enable data sharing, enhanced situational awareness, and secure communication across vehicles, devices, and command centers.
Digi