Building an IoT Prototype Project with AWS, Slack, and a Raspberry Pi
Building an IoT Prototype Project with AWS, Slack, and a Raspberry Pi
- Last Updated: December 2, 2024
Guest Writer
- Last Updated: December 2, 2024

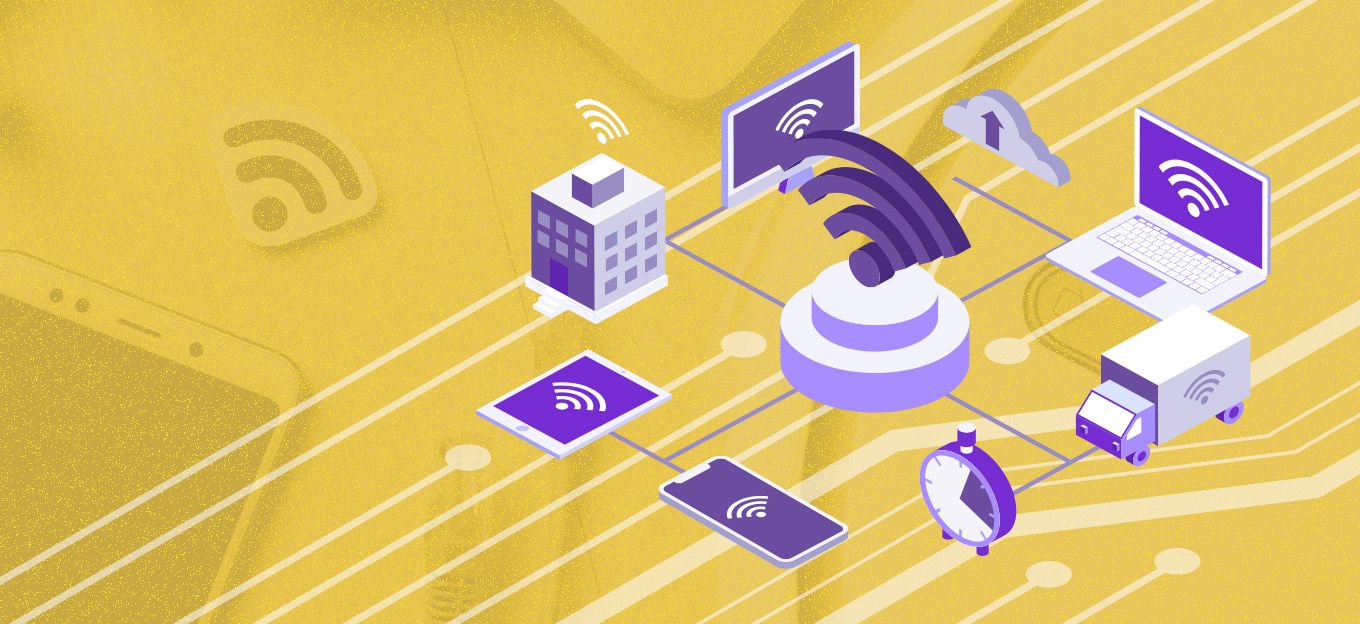
In this tutorial, we'll build a prototype IoT project with Amazon Web Services (AWS), Slack, and a Raspberry Pi. Our project offers a simple demonstration of how to create a custom, cloud-enabled sensor system by integrating popular products and services. It draws from several resources across the Internet.
How Does it Work?
Using a DS18B20 temperature sensor, the Raspberry Pi measures the temperature every minute. It sends measurement data (sensor name, timestamp, and temperature in both Celsius and Fahrenheit) to an AWS API Gateway endpoint via an HTTP POST request. The endpoint invokes a Lambda function that inserts the data into a DynamoDB table.
Separately, AWS EventBridge invokes a second Lambda function once per minute. This function queries the DynamoDB table for all items inserted within the last 60 seconds, sending them to a Slack channel via an HTTP POST request.
For security purposes, the API Gateway endpoint uses an authorization token stored in AWS Systems Manager.
Requirements
This project requires an AWS account, a Slack account, the AWS command-line interface (CLI), the AWS serverless application model (SAM) CLI, a Raspberry Pi, the Raspbian distribution of Linux, a DS18B20 temperature sensor, and Python 3.
Setting up Slack
Our project's first component is a Slack app with incoming webhooks. We create the app according to a tutorial on Slack's website. We make note of the webhook's URL, because we will need it in the section below.
Setting up AWS
Our project's second component is an AWS serverless app that uses the API Gateway, DynamoDB, EventBridge, Lambda, and Systems Manager services. It has the following folder structure:
 project/
   |__ template.yaml
   |__ iot/
         |__ app.py
         |__ requirements.txt
The contents of template.yaml are:
Transform: AWS::Serverless-2016-10-31
Globals:Api:
Auth:
Authorizers:
TokenValidator:
FunctionArn: !GetAtt ValidateRequest.Arn
FunctionPayloadType: TOKEN
Identity:
Header: x-api-token
ReauthorizeEvery: 0
DefaultAuthorizer: TokenValidator
EndpointConfiguration: REGIONAL
Function:
Environment:
Variables:
DYNAMODB_TABLE: sensor-data
Runtime: python3.7 # Change as necessary.
Resources:
ValidateRequest:
Type: AWS::Serverless::Function
Properties:
CodeUri: ./iot
Handler: app.validate_request
Policies:
- Statement:
- Action:
- ssm:GetParameter
Effect: Allow
Resource: !Sub arn:aws:ssm:${AWS::Region}:${AWS::AccountId}:parameter/api-token
Version: '2012-10-17'
HandleSensorRequest:
Type: AWS::Serverless::Function
Properties:
CodeUri: ./iot
Handler: app.handle_sensor_request
Policies:
- Statement:
- Action:
- dynamodb:PutItem
Effect: Allow
Resource: !GetAtt SensorData.Arn
Version: '2012-10-17'
Events:
SensorResource:
Type: Api
Properties:
Method: POST
Path: /sensor
MakeSlackRequest:
Type: AWS::Serverless::Function
Properties:
CodeUri: ./iot
Handler: app.make_slack_request
Policies:
- Statement:
- Action:
- dynamodb:Query
Effect: Allow
Resource: !GetAtt SensorData.Arn
Version: '2012-10-17'
- Statement:
- Action:
- ssm:GetParameter
Effect: Allow
Resource: !Sub arn:aws:ssm:${AWS::Region}:${AWS::AccountId}:parameter/slack-url
Events:
SlackSchedule:
Type: Schedule
Properties:
Schedule: rate(1 minute)
SensorData:
Type: AWS::DynamoDB::Table
Properties:
AttributeDefinitions:
- AttributeName: sensor
AttributeType: S
- AttributeName: timestamp
AttributeType: N
KeySchema:
- AttributeName: sensor
KeyType: HASH
- AttributeName: timestamp
KeyType: RANGE
ProvisionedThroughput:
ReadCapacityUnits: 5
WriteCapacityUnits: 5
TableName: sensor-data
Outputs:

  SensorURL:

    Value: !Sub 'https://${ServerlessRestApi}.execute-api.${AWS::Region}.amazonaws.com/${ServerlessRestApi.Stage}/sensor'
The contents of app.py are:
import decimal

import json

import os

import time
import boto3
import boto3.dynamodb.conditions
import requests
DYNAMODB_TABLE = os.environ['DYNAMODB_TABLE']
SENSORS = ['1']
def get_stored_parameter(name):
ssm = boto3.client('ssm')
response = ssm.get_parameter(
Name=name,
WithDecryption=True
)
return response['Parameter']['Value']
def validate_request(event, context):
expected_token = get_stored_parameter('api-token')
if event['authorizationToken'] == expected_token:
effect = 'Allow'
else:
effect = 'Deny'
return {
'principalId': '*',
'policyDocument': {
'Version': '2012-10-17',
'Statement': [{
'Action': 'execute-api:Invoke',
'Effect': '{}'.format(effect),
'Resource': '{}'.format(event['methodArn'])
}]
}
}
def handle_sensor_request(event, context):
dynamodb = boto3.resource('dynamodb')
table = dynamodb.Table(DYNAMODB_TABLE)
table.put_item(
Item=json.loads(event['body'], parse_float=decimal.Decimal)
)
return {'body': event['body']}
def compute_timestamp(value):
time_in_seconds = time.time()
return decimal.Decimal(time_in_seconds - value)
def query_table(sensor, timestamp):
dynamodb = boto3.resource('dynamodb')
table = dynamodb.Table(DYNAMODB_TABLE)
response = table.query(
KeyConditionExpression=
boto3.dynamodb.conditions.Key('sensor').eq(sensor)
& boto3.dynamodb.conditions.Key('timestamp').gte(timestamp)
)
return response['Items']
def create_message(item):
gmt = time.gmtime(item['timestamp'])
datetime_format = time.strftime('%Y-%m-%d %H:%M:%S', gmt)
return '{} Sensor {} {}U00002103 {}U00002109n'.format(
datetime_format,
item['sensor'],
item['celsius'],
item['fahrenheit']
)
def make_slack_request(event, context):
timestamp = compute_timestamp(60)
status = {}
for sensor in SENSORS:
items = query_table(sensor, timestamp)
if items:
messages = [create_message(item) for item in items]
body = {'text': 'n'.join(messages)}
slack_url = get_stored_parameter('slack-url')
response = requests.post(slack_url, json=body)
status[sensor] = response.status_code
return status
The contents of requirements.txt are: requests
Setting up AWS requires us to run several commands from our Linux shell.
First, using the AWS CLI, we store the URL for our Slack app's webbook in Systems Manager. We replace VALUE with the actual URL.
aws configure set cli_follow_urlparam false

aws ssm put-parameter --name 'slack-url' --value 'VALUE' --type 'SecureString'
Second, we store an API authorization token in Systems Manager. Our token is a string that we use to validate requests to API Gateway. (Creating a secure token falls outside of the scope of this article.) Again, we replace VALUE with the actual token.
aws ssm put-parameter --name 'api-token' --value 'VALUE' --type 'SecureString'
Finally, using the AWS SAM CLI, we build and deploy our serverless app. (We run these particular commands from the project directory in the folder structure described above.)
 sam build
 sam deploy --guided
After deploying the app, we make note of the SensorURL referenced in the output of the sam deploy --guided command, because we will need it below.
Setting up the Raspberry Pi
Our project's third and final component is a Raspberry Pi with a DS18B20 temperature sensor and a short Python program. We configure the Raspberry Pi and install the temperature sensor according to a learning module on Adafruit's website.
The Python program is a file named ds18b20.py. It is largely a rewrite of an example found in the same Adafruit learning module. Its contents are:
 import logging
 import os
 import pathlib
 import time
 import requests
AWS_API_TOKEN = os.environ['AWS_API_TOKEN']
AWS_SENSOR_URL = os.environ['AWS_SENSOR_URL']
SENSOR_NAME = os.environ['SENSOR_NAME']
logging.getLogger(__name__)
def find_device_file():
base_directory = pathlib.Path('/sys/bus/w1/devices')
device_file = next(
base_directory.glob('28*/w1_slave')
)
return base_directory.joinpath(device_file)
def read_device_file(filename):
with open(filename, 'r') as device_file:
return device_file.read()
def compute_temperature(reading):
celsius = int(reading) / 1000
fahrenheit = celsius * 9 / 5 + 32
return celsius, fahrenheit
def send_temperature(celsius, fahrenheit):
header = {
'x-api-token': AWS_API_TOKEN
}
body = {
'sensor': SENSOR_NAME,
'timestamp': time.time(),
'celsius': celsius,
'fahrenheit': fahrenheit
}
response = requests.post(
AWS_SENSOR_URL,
json=body,
headers=header
)
if response.status_code != 200:
logging.warning(
'Status code {}'.format(response.status_code)
)
def main():
device_file = find_device_file()
while True:
data = read_device_file(device_file)
while 'YES' not in data:
time.sleep(1)
data = read_device_file(device_file)
else:
_, device_reading = data.split('t=')
celsius, fahrenheit = compute_temperature(device_reading)
send_temperature(celsius, fahrenheit)
time.sleep(60)
if __name__ == '__main__':

    main()
Before running the program, we set three environment variables in our Linux shell. AWS_API_TOKEN is the API authorization token from the section above. AWS_SENSOR_URL is the URL to which the Raspberry Pi sends requests; it is the SensorURL mentioned in the previous section. Finally, SENSOR_NAMEis the name that we assign to our Raspberry Pi. As always, we replace VALUE with the actual value of each environment variable.
 export AWS_API_TOKEN=VALUE
 export AWS_SENSOR_URL=VALUE
 export SENSOR_NAME=1
If we want the environment variables to persist, then we add them to our .bashrc file.
 echo export AWS_API_TOKEN=VALUE >> ~/.bashrc
 echo export AWS_SENSOR_URL=VALUE >> ~/.bashrc
 echo export SENSOR_NAME=1 >> ~/.bashrc
We then run our program. From this point forward, the Raspberry Pi will send measurement data to an AWS API Gateway endpoint once per minute. AWS EventBridge will retrieve data from a DynamoDB table at the same frequency and send it to our Slack channel.
python3 ds18b20.py
(Our program requires a third-party Python library, requests. If we do not already have it, then we install it by running sudo pip install requests from our Linux shell. On a new Raspberry Pi, we may need to run sudo apt-get install python3-pip first.)
Conclusion
Our prototype IoT project integrates AWS, Slack, and a Raspberry Pi. It offers an example of how to use popular products and services to build custom, cloud-enabled sensor systems. To enhance our prototype, we could increase the number of Raspberry Pis with DS18B20 temperature sensors, add other types of sensors (for example, humidity sensors), turn our Python program into an installable package, run our Python program as a Linux service, and create visualizations of sensor data - the opportunities are limitless!
The Most Comprehensive IoT Newsletter for Enterprises
Showcasing the highest-quality content, resources, news, and insights from the world of the Internet of Things. Subscribe to remain informed and up-to-date.
New Podcast Episode

IoT Is Finally Delivering
Related Articles