Building a Budget Home Server for Local IoT Storage and Control
Building a Budget Home Server for Local IoT Storage and Control
- Last Updated: April 22, 2026
Alex Vakulov
- Last Updated: April 22, 2026
Walk into a modern home, and you find everything is connected. Lights, cameras, speakers, and even kitchen appliances are silently exchanging data in the background.
It feels convenient until things stop working together. When dozens of IoT devices run on their own, problems can show up quickly: lag, security issues, and scattered data. On top of that, constant subscriptions and growing privacy risks make it harder to manage everything effectively.
Setting up a home server is a practical way to bring order, ownership, and efficiency back into your digital life. It is now simple and affordable enough for most households, even without great technical skills.
Why Home Servers Make Sense in a Connected Home
A home server is the central brain behind the scenes. It is a dedicated machine that manages backups, streams media, runs automations, hosts apps, and more.
Many households now run multiple connected devices, and without proper segmentation, they all end up on the same network. A good place to start is learning how to isolate and secure them. Pairing that with a home server lets you centralize storage, automate routine tasks, and manage traffic locally without relying entirely on third-party platforms.
And here is the part many people overlook: building a home server is not just about saving money. It is also a chance to learn. Running a home server teaches the basics of networking, virtualization, backups, and security through real use rather than theory, and hands-on experience is widely seen as one of the most effective ways to build lasting skills.
Cloud vs. NAS vs. Home Server
Cloud services make everything easy: upload, sync, and forget about it. But, again, convenience comes at a cost. Subscriptions stack up, and you are trusting others with your data.
NAS systems offer a simpler entry point. They handle shared storage and backups well, but usually come with limited flexibility, performance constraints, and less control over custom workloads compared to a full server setup.
People are starting to question long-term dependency, and the mindset is shifting. Instead of renting digital space forever, why not build something once and own it? That is the core appeal of running your own home server. It requires some upfront effort, but in return, you get long-term savings, more flexibility, predictability, full access control, and a setup that adapts as your needs change.
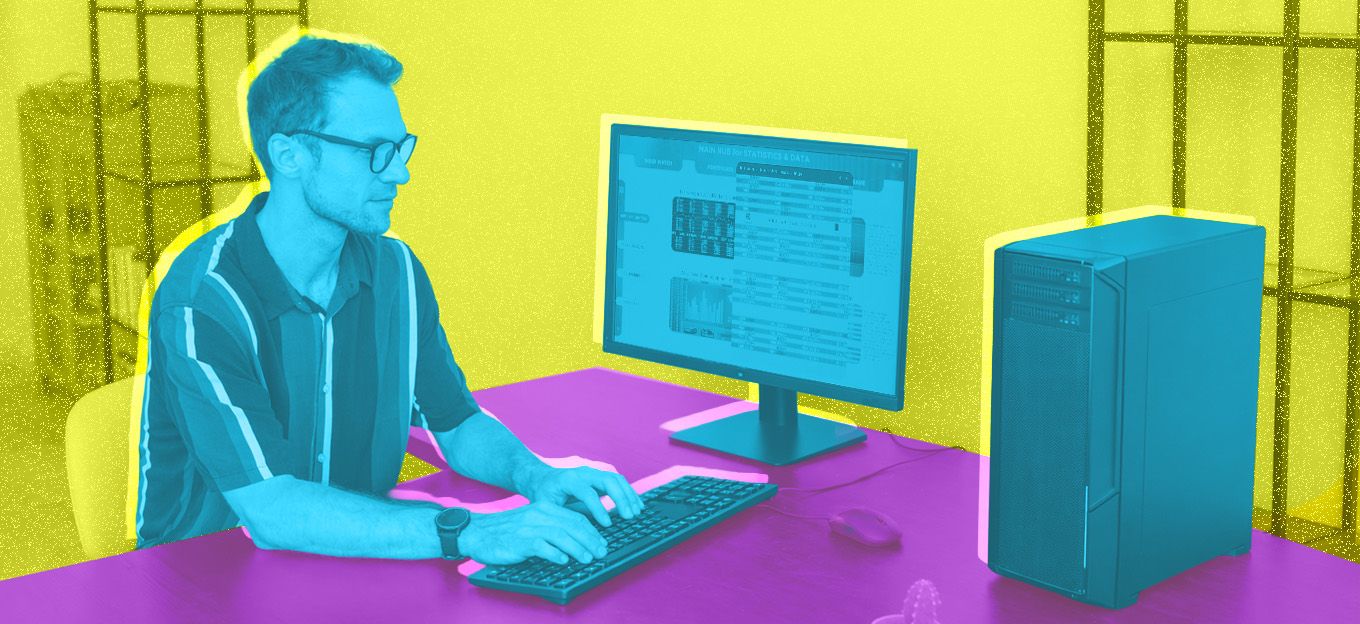
Choosing Hardware for a Budget Home Server
Getting started with a budget home server is less about cutting corners and more about choosing parts that match your workload. For most home setups, the goal is reliability, upgrade room, and low power use rather than raw performance.
- Server Chassis: Room to Grow: Your chassis is more than a shell. Good airflow helps protect drives and other components during 24/7 use, while extra space makes future upgrades easier. A case that is too small can quickly become limiting once you add more drives or better cooling.
- Motherboard: Prioritize I/O and Expansion: The motherboard determines how flexible the system will be later. Focus on enough SATA ports, at least one or two NVMe slots, stable networking, and room for future expansion. If ECC matters to you, check support at the specific board and CPU level rather than assuming it comes with a chipset. On many consumer boards, ECC memory may be accepted but not run in full ECC mode.
- CPU: Match It to the Job: Most home servers do not need a high-end processor. A modern, efficient multi-core CPU is enough for media streaming, self-hosted apps, and light virtualization. Spend more only if you know you will run heavier VMs, frequent transcoding, or multiple services at once.
- RAM: Leave Headroom: For basic file storage and a few lightweight services, 16 GB is a practical starting point. If you plan to run multiple virtual machines, containers, or ZFS storage, 32 GB gives you more room and tends to age better. Memory is often the first limit in a small home lab.
- Storage: Combine Responsiveness and Capacity: Use an SSD for the OS and core services to keep the system responsive. Add HDDs for bulk storage, backups, and media. This mix gives you speed where it matters and capacity where it counts.
- Power Supply and Cooling, Build for Stability: A quality PSU in the 400W to 550W range is enough for many home server builds, especially those using efficient CPUs and a modest number of drives. An 80 PLUS Bronze or Gold unit can reduce wasted power and heat, which matters for a system that may stay on all day. Quiet, steady cooling is just as important as wattage.
A well-selected entry-level build can often cost around $300 to $400. For households already paying for larger cloud storage plans, that can be close to what two years of subscriptions cost.
Smarter Choices for a Low-Cost Server
Here is where things get interesting. You do not need brand-new parts to build something capable. Used or refurbished business hardware is often cheaper than new consumer components and can still be a solid fit for home server workloads. Just make sure to carefully check the exact specifications your system requires and buy from a reputable seller with return coverage.
There is also a sustainability angle. Reusing hardware helps reduce electronic waste and extends the life of devices that might otherwise be discarded. That old desktop collecting dust could easily become a backup server.
This shift toward reuse aligns with broader tech trends. The industry is slowly moving toward efficiency - not just performance. And for home servers, that is a win-win: lower cost, lower environmental impact.
How to Set Up a Home Server
Getting started is more straightforward than it looks when you take it step by step.
Step 1: Define Your Purpose
Decide what you want the server to do: file storage, media streaming, backups, home automation, self-hosted apps, or a mix of these. That choice shapes the hardware, operating system, and storage you will need.
Step 2: Select Hardware Wisely
Choose components based on your actual workload, not trends. Focus on compatibility, efficiency, storage options, and room to expand later.
Step 3: Install and Assemble
Assemble the hardware carefully and make sure airflow is not restricted. Good cable management and stable cooling help the system run more reliably over time.
Step 4: Configure the Software
Install an operating system that matches your goals. Ubuntu Server is a strong general-purpose option, while TrueNAS is better suited to storage, backups, and network file sharing. Start with the basics, such as file sharing, backups, or one or two core services, then add more as your needs grow.
The key is to start simple. You can always scale later.
Security, Maintenance, and Common Mistakes
Most home server problems do not start with advanced technical issues. They usually come from missing the basics. Skipping backups is one of the fastest ways to lose important data after a drive failure or bad configuration change.
Poor cooling creates a different kind of risk, as heat can reduce stability and shorten hardware lifespan. Another common mistake is overspending on hardware that adds little practical value for everyday workloads.
Security mistakes are just as common. Weak passwords, unnecessary open ports, and poorly controlled remote access can expose the server far more quickly than beginners expect. That risk grows even further in homes already filled with IoT devices, where one weak point can create broader exposure across the network.
A safer approach is to start with the minimum you actually need. Regular maintenance matters just as much. Apply software updates, monitor drive health and system temperatures, and verify that backups are actually working instead of assuming they are.
Final Thoughts
A home server is not a miniature data center. Its value is more practical: local storage, backups, media, private apps, and more control over where your data lives.
As IoT devices and other connected systems continue to spread across the home, keeping more storage and processing local can reduce latency, limit cloud dependence, and make everything easier to manage. Small local AI workloads are becoming more accessible, too, giving individuals more room to experiment without sending every task to the cloud.
The Most Comprehensive IoT Newsletter for Enterprises
Showcasing the highest-quality content, resources, news, and insights from the world of the Internet of Things. Subscribe to remain informed and up-to-date.
New Podcast Episode

IoT Is Finally Delivering
Related Articles